All Bosses — Strategy Guide for Every Fight
Published 2026-09-11Updated 2026-09-1812 min read
Boss-by-boss tactics for Onimusha: Way of the Sword — Sasaki Ganryu, Datsura, Roshogan, the Nue family, Benkei, the thunder brothers, Shuten Doji, Dokiyo and Yoshitsune.
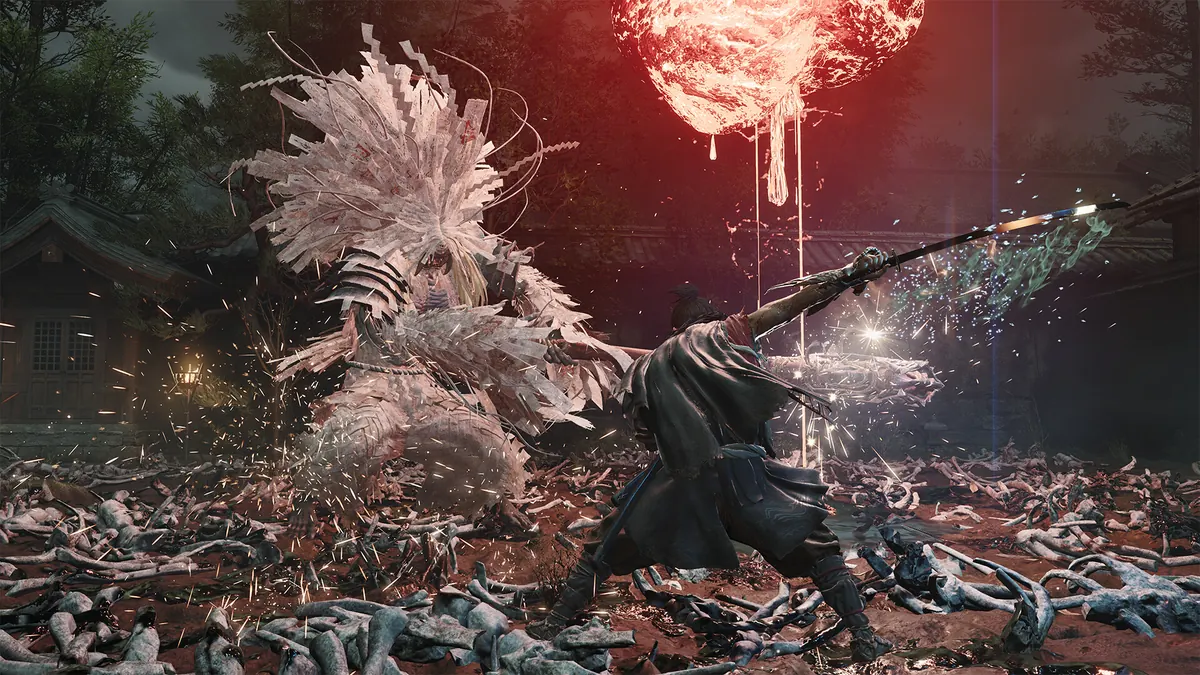
Every boss in Onimusha: Way of the Sword, distilled into the tactics that actually matter. For full walkthrough context, each fight links into its story chapter.
Sasaki Ganryu (First Fight)
- The angled three-slash thrust has a long wind-up — deflect or Issen it.
- The leaping overhead chop is slow: your main damage window.
- The charge attack has a fake-out variant that hooks right; learn to tell them apart.
- Any grab telegraphs with an arm raised overhead — simply sidestep.
Datsura
- Bait his slashes into the corpses lining the arena walls; the whiff recovery is your opening.
- His stomp kick has a long wind-up and can be Issen'd.
- Phase two adds a grab and a leaping face-slam.
- Deflecting breaks his charge, but the follow-up combo still needs answering.
Roshogan
- Core mechanic: cut the thread linking the boss to its power — each cut staggers it.
- Phase two throws debris at you; shoot it out of the air with the bow to reflect it back.
- When it reels you in, pause the game if you need a beat to reset your reaction.
- The spinning charge: double-tap dodge through it. Do not deflect.
Oikaze (Gale)
- The wind projectiles can be parried or dodged with a double-tap.
- Deflect the tornado rush point-blank — the recovery is huge.
- The jump-slam pull-in is safest with block + parry.
- At low health it takes flight and spins; shoot its back with the bow.
Nue Beast
- Deflects are nearly worthless here — invest in the perfect-dodge combo skill and dodge-centric play.
- The two bites have different wind-ups; watch the head.
- The tail whip jumps at its apex to dodge. The tail itself is severable.
Great Nue
- Crawling phase plays like the Nue Beast; standing phase switches to claw attacks — deflect or parry those.
- The pink-glow attacks are undodgeable: deflect or parry, no exceptions.
- Choose the tail for your execution, then throw it back for bonus damage.
- The aerial slam floats for two seconds before dropping — dodge on landing.
Benkei
- Fully armored at the start: posture damage only, until executions strip plates.
- The pink-glow attacks are undodgeable — deflect or parry.
- Once the armor breaks, it's a normal fight.
- On higher difficulties, a single hit taken sends him into his buffed state.
Rairei (Thunder)
- Core loop: two variant charge attacks plus long-range lightning calls.
- Dodging lightning orbs: near orb first, then far orb — end the sequence running toward Rairei.
- Phase two teleports for a falling-strike; dodge in place.
- The final AoE: dodge at the instant the blade falls.
Shuten Doji
- When he drinks, he can't move — unload damage to out-pace his healing.
- Fire attacks everywhere: stock Evil-Warding Medicine before the fight.
- Phase two grants your Awakening form, which loosens Issen timing; watch the gauge drain.
- The flying-head grab reaches across the arena — never relax at range.
Oikaze & Rairei (Tag Team)
- Kill order: Oikaze first, then Rairei.
- Combo 1 (linked charge): deflect or block only.
- Combo 2 (simultaneous ults): sprint to maximum range.
- Combo 3 (aerial + lightning dash): long wind-up, easy to read.
- Combo 4 (pincer from both sides): short wind-up — stay alert.
Sasaki Ganryu (Rematch)
- New counter stance: when his weapon glows and locks, break it with the Arm Awakening — never attack into it.
- The head on his back interrupts combos; dodge when its mouth gapes widest.
- After his spin-slash, the second head-chop catches most players. Expect it.
- Attacking his back breaks limbs, but they regenerate.
Sasaki Ganryu (Third Duel)
- A fundamentals exam — identical moveset to the tower fight.
- Phase two buffs his speed and damage via the Flame state, no new moves.
- Fight it on muscle memory.
Dokiyo
- Homing missiles: dodge-chase the whole way; a deflect on the spinning shell staggers her.
- Clones: Detection exposes the fake; a bow shot shatters it for a punish window.
- Masks: shoot them down mid-air — two exist in phase two.
- The arena-wide sphere: hide under the boulder beside her, then Crush the boulder onto her.
- Reward: the Utterly Deranged trophy.
Yoshitsune (Final Boss)
- Three phases; only the Awakening state hurts him in phase three — everything else just chips posture.
- Phase one: parry-centric. Respect the shoulder-tendril thrust and the grab.
- Phase two: armored form. Parry to strip durability, and absorb purple souls to build your Oni power.
- Phase three: during the arena-wide soul drain, steal souls back; Awakening Issens are your damage. Bank the R1 finisher until the gauge is nearly spent.
- Bring consumables — reflection charms, stimulants, dried millet all earn their slots here.
Fighting a specific duel? Jump to its chapter: Sasaki's first duel, Shuten Doji at Mount Oe, the tag-team rematch, or the finale.