Mount Oe Walkthrough — Shuten Doji, Rolling Logs and the Awakening Form
Published 2026-09-11Updated 2026-09-1811 min read
Full Mount Oe walkthrough: red-lock bridges, demon-hand bugs, the rolling-log gauntlet, the dungeon key, the Sanpuku disguise, and the Shuten Doji boss with Onimusha Awakening.
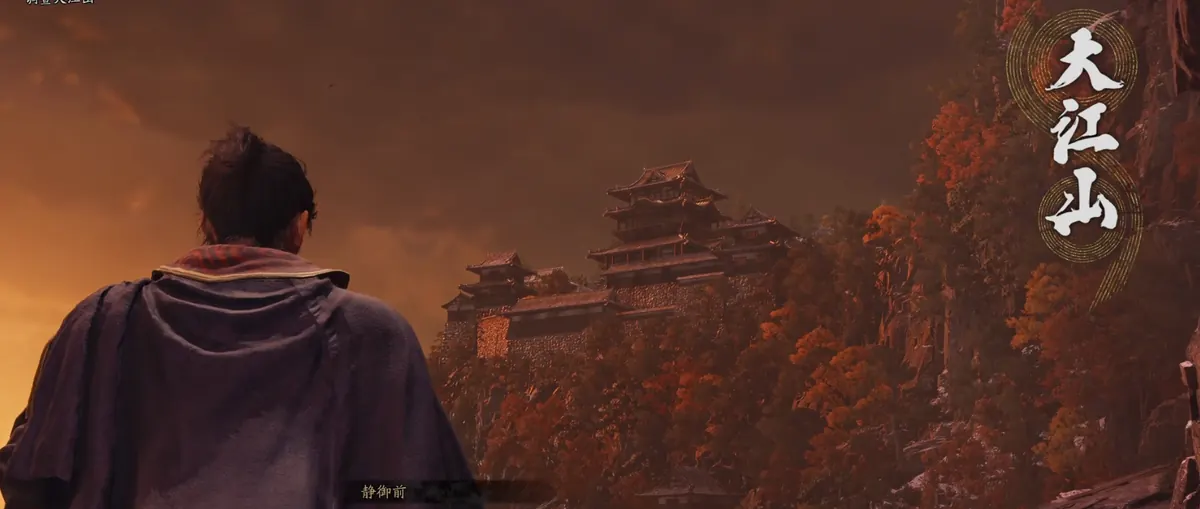
Mount Oe is a sprawling fortress level built around three ideas: bow-triggered locks, demon-hand bugs sealing caves, and a death corridor of rolling logs. At the end waits the drunk demon king himself.
The Ruined Approach
Warp to the Mount Oe Entrance and walk to the Ruins Front 1 save mirror; enter the courtyard through the side door. Upstairs in the house a new enemy type appears — attacking it triggers a forced dodge, so don't swing first; bait, then punish.
The cave ahead is sealed by two demon-hand bugs: one under the wooden platform, one behind the miasma door. Expect the Hyakue elite to interrupt your bug hunt. With the cave open, unlock the Cave Front mirror.
Bow work dominates this section:
- Shoot the red lock on the opposite bridge to drop it (a recurring design from here on).
- Prioritize the harassing archers as you cross right.
- At the dead end, a hidden chest holds the Genma Record: Oborogarasu.
- Shoot red locks under bridges, blow up explosive barrels hiding behind doors, and work your way to the Ruins Front 2 mirror.
Beyond it, wall-run across the iron cages and use the roller to swap cage positions. After clearing the house, take the right stairs down, sight the high wooden bridge, and shoot its red lock. Cross it, climb, interact with the roller, then shoot the explosive barrel on the far side of the wooden door. The Mountain Gate save mirror waits at the elevator.
The Mountain Road
Ride up and detour into the right-hand cave — the chest at its end holds the Oni Armament: Flashing Void, the piercing spear.
At the Oe Castle gate, the cutscene names your demon: Shuten Doji. The gate only opens for someone called Sanpuku — so Musashi goes hunting for the real one. Unlock the Mountain Path mirror and climb the right stairs: a cutscene tasks you with saving villagers from a mob.
The house ahead hides more steps: a rope-sealed cave, another villager to rescue while hunting demon-hand bugs, a miasma wall you can tear for a shortcut, a crawl-space with a drop behind the room, a chest through the right crawl-hole, and finally the blocking bug itself. When you leave, a Prison Window spawns — absorb it, then enter the cave and unlock Cave Interior 1.
The Rolling Logs
Use the Arm Awakening Crush to shove the log out of the way, step outside, and brace yourself: the cutscene ends with logs thundering down the slope.
- Normal logs shatter under Crush; burning ones cannot be broken.
- Don't duel the logs head-on — both sides have safe lanes. Alternate left and right paths, clearing mobs as you go.
- Wall-run down to the ladder, climb, cross the upper wooden bridge, and push one last log with Crush to smash the wooden door.
Through the door, enter the hut and absorb the black soul for the reveal: Sanpuku is a human traitor — deceiving villagers and butchering them into the demon king's feasts. Take the elevator, unlock Cave Interior 2, and continue.
The Dungeon
Enter the dungeon zone through the open middle cell, then wall-run the cell block to its end. Crawl the left hole, squeeze the wall crack, and tear open the miasma wall.
Outside, a mob has gathered — clear it, and a rescued villager hands over the dungeon key. Loot the now-open cells, then use the key into the miasma zone:
- The cave ahead is sealed by two demon-hand bugs again.
- Climb the ladder and snipe bug one with the bow.
- Turn the wheel to lower the iron cage, then follow the rope to bug two.
- Double back for a chest at the corridor's end.
In the wide area ahead, a Prison Window spawns with your old friend Dofuten. Beat him, seal the window, and take the black-soul cutscene — the traitor playing Sanpuku again, handing villagers to the Genma as ingredients. Unlock the Storehouse mirror.
Musashi kills one disguised Sanpuku, wears the disguise to the gate — and the gate demands one more thing: a beautiful woman. Okuni volunteers herself with zero hesitation. Musashi's silence says everything.
Boss: Shuten Doji
Inside the hall, eyes meet, cups drop, and the Shuten Doji fight begins.
Phase two unlocks the chapter's real prize: the Onimusha Awakening form. The kanji gauge in the bottom-right fills as you fight — Awakening loosens your Issen windows dramatically. The gauge drains constantly and taking hits drains it faster, so the form rewards clean play.
Shuten himself is gentle for a demon king: narrow moveset, huge wind-ups, attacks you've literally seen from common mobs. The fight is really an Awakening tutorial. The one annoyance is phase-two fire — getting burned stacks damage, so keep Evil-Warding Medicine handy to douse it.
After the Storm
Back at Rokudochinno-ji, Musashi shares his philosophy of the sword with the group — and Murasaki Shikibu bursts in with an SOS: Yasaka Shrine is under siege. Grab your blades: Third Visit to Rakuto.