Rairei Boss Guide — The Thunder Cycle Decoded
Published 2026-09-11Updated 2026-09-184 min read
Rairei's full fight loop explained: the two charge variants, the lightning-orb dodge rhythm, teleport strikes in phase two, and the final falling-blade timing.
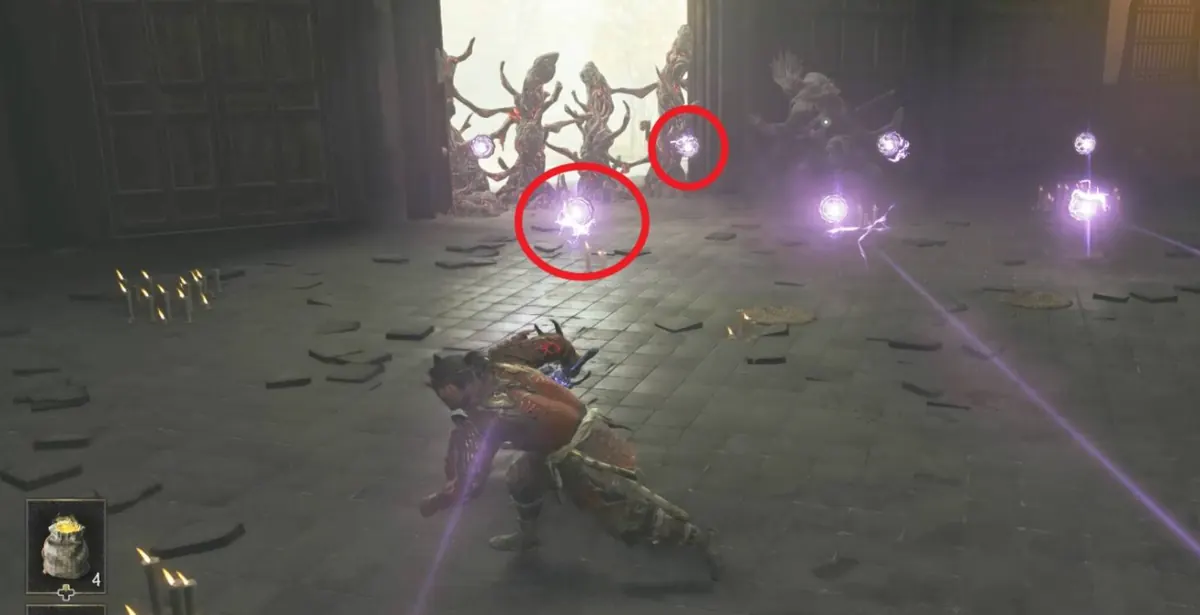
Rairei is a pattern boss wearing lightning — every storm in his kit repeats on schedule. His entire fight is one loop — charge attack variants plus a long-range lightning call, then repeat — and his basic swipes barely join his combo pool at all. Master the orb rhythm and the deflect timings, and the storm collapses.
The Core Loop
Everything Rairei does resolves into two charge-attack variants and a lightning summon. The single slashes, two-hit strings and kicks mostly exist outside the loop as free posture damage for you.
Key Moves
Multi-orb frontal strike. When he summons a spread of lightning orbs, start on the far side of the orb field and run toward him, sheltering behind the orbs that have already fired. Near orb first, far orb second — end the sequence at his side while he recovers. His post-strike recovery is long; that's your damage.
The two charge openers. Both are deflect targets with different payoffs:
- Spear-braced charge: shorter recovery after a clean deflect.
- Shoulder-carried slash-into-thrust: much longer recovery — a big punish window.
Straight-line lightning. If your combo counter has run high, he calls a line of strikes in front of you. If you can't outrun the line, dodge in place.
Phase Two
Teleport strikes. Once his second bar drops, Rairei teleports by dissolving into tears — as he vanishes, lightning gathers under Musashi's feet. When the density peaks, dodge in place. No running needed.
The final-bar super. The last health bar unlocks his range attack: a straightforward orb line first (easy), then he spins his blade twice to imbue it and brings a vertical cleave down on your head. Dodge at the instant the blade falls — no earlier.
His harder duo appearance — alongside brother Oikaze — is covered in the tag-team guide.