Kiyomizu-dera Temple Walkthrough — First Boss and Detection
Published 2026-09-07Updated 2026-09-189 min read
Complete Kiyomizu-dera walkthrough: miasma walls, oni-eater bugs, the Detection eye power, the Twin Blades chest, and the Sasaki Ganryu boss fight.
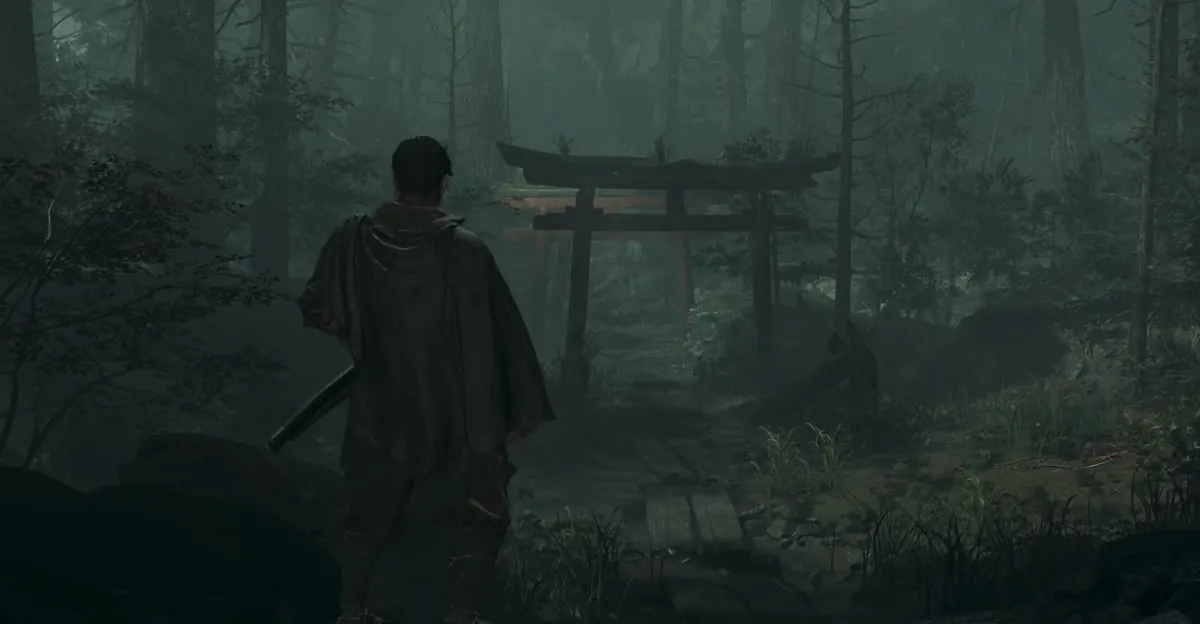
Warp from Rokudochinno-ji to the Kiyomizu-dera approach. Veterans of the demo will recognize everything from here — this chapter is where the game settles into its rhythm of blocked paths, hidden bugs and one unforgettable rematch.
The Approach
Follow the mountain path forward through a few basic tutorials. At the courtyard gate you'll face a group of four umbrella-hat demons — a good first test for your deflect timing. Clear them and head inside.
The courtyard chest holds a small regeneration pill. The world is dense with consumable pickups like this one, so this walkthrough only calls out the important ones from here on.
Leaving the temple grounds unlocks the map. Keep pushing up the path until you hit a miasma wall — untouchable for now, note it and move on. A bit further you'll find archers positioned on both sides; drop them, then check the slope on the right for a chest containing a whetstone.
Just past there you unlock the Niomon Front save mirror.
Opening the Gates: Oni-Eater Bugs
Rest up, then walk toward the main gate to trigger a black-soul cutscene and unlock the Detection eye power. Use it, then strike the glowing oni-eater bug behind you to tear the gate open.
Inside, a miasma wall blocks the left side while the right hides a few pickups. The flow of this section:
- Climb the stairs, clear the enemies, and stop at the stage door — blocked again.
- Destroy the first oni-eater bug to clear the way, then enter the building for a stealth kill tutorial.
- Fight through the corridor into a cave.
The Twin Blades Chest
In the cave you'll spot a chest wrapped in red threads. Sweep Detection to find the oni-eater bug tethered to it, destroy it, and claim the Oni Armament: The Two Celestials — Musashi's signature two-sword style.
Leaving the cave triggers a cutscene and an elite enemy spawn, a friendly warm-up before things escalate.
The Pale Demon and the Second Boss
Backtrack the way you came — only to find the route blocked. Take the right path from the blockage for a cutscene: the pale demon Hyakue smashes through the gate and escapes. Loop back to the main gate and unlock the Precincts save mirror.
Walk onto the stage for another black-soul cutscene. Your prologue rival Sasaki Ganryu is back — converted into an Onimusha himself. When the curtain rises, the first real boss fight begins.
Ganryu is deliberately gentle as first bosses go: readable moves, modest aggression, no phase tricks. Stay patient, punish his recovery windows, and the fight is yours. Afterward, a cutscene shows the white-robed monk whispering to Ganryu — egging him on to feed living souls to his gauntlet.
Closing Out the Chapter
Continue along the road for one more story beat: your first look at the demon Datsura. When control returns, use Detection to reveal the gate into the Oni Hideout.
Hold off on stepping through — the path ahead is lined with loot worth sweeping first. Once you're picked the area clean, enter the hideout to continue to The Oni Hideout.
Note: names like Hyakue, oni-eater bugs and the Twin Blades follow descriptive translations pending the official English localization.