Underground Laboratory Walkthrough — Dokiyo, the Mask Puzzle and Bloodstained Key
Published 2026-09-09Updated 2026-09-189 min read
Full Underground Laboratory walkthrough: red threads, the mask shooting puzzle, the descending ceiling fan, the Great Hammer armament, and the Nue Beast duo rematch.
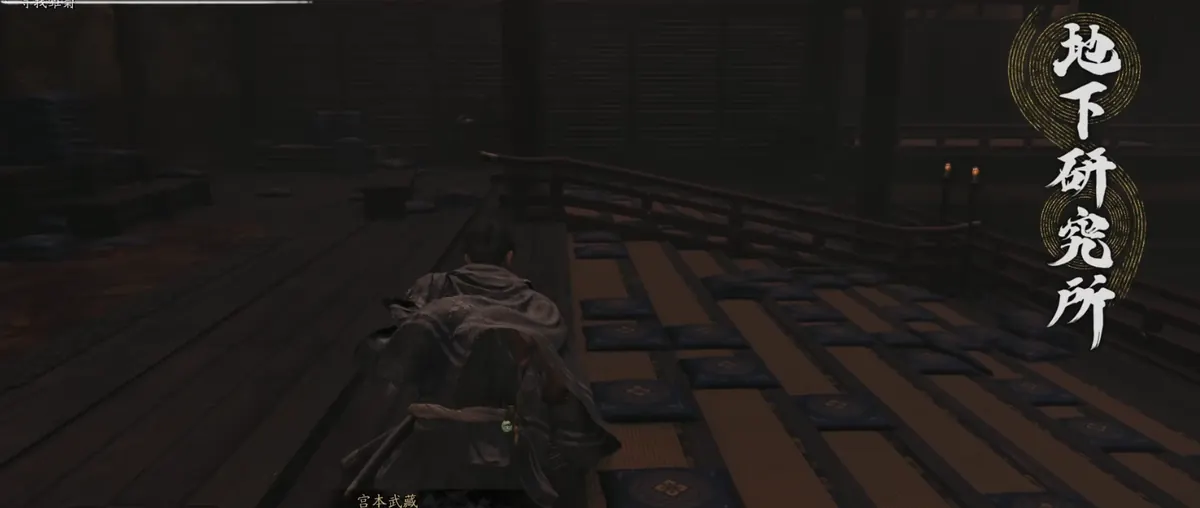
The Laboratory swaps Kyoto's temples for horror-movie corridors, gears and trap rooms. It's almost purely linear, so follow the flow and you won't miss anything important.
B2 — Descending
Ride the elevator to the bottom, take the stairs down, and keep right through the first open room. Watch yourself squeezing through the wall gaps — the game loves a good jump-scare down here.
Open the door and activate the B2 save mirror. Take the small left door: a figure in the corridor triggers a cutscene. Push on, break the miasma wall, and ride the end-of-hall elevator down to meet Dokiyo, Minamoto no Yoshitsune's confidant. To rescue Hina, you first need his key.
After the cutscene a new enemy type appears — it splits in two if you fight it up close. Shoot its big eye with the bow first, and it loses the ability to split.
Beyond the fight: ride the contraption left to the next room, interact with the mechanism (enemies ambush you), then find and cut the red thread to open the door. Unlock the B3 save mirror just past it.
B3 — Masks and Mechanisms
From the mirror, take the stairs behind-left of the main door. The map stays linear. Clear the mobs until you reach the red-thread door — clear the lower area of enemies first, then cut the thread (a chest sits next to it). Three more mobs respawn on the stairs back up; after them, you reach the mask room.
The mask puzzle: look at the projections outside the window — the number of holes in each marks the shooting order. Shoot the masks with the bow in that numeric order, grab the strange mask from the central cage, and exit through the small right-hand door back to the corridor.
Use the mask on the locked door near the save mirror room, drop down past it, then:
- Interact with the mechanism on the right — a cutscene introduces another new enemy from the left.
- Beat it, then hit the second mechanism in the monster room (chest beside it).
- Pull the mask's red cord to unlock the right door.
Riding the water-borne contraption triggers another scene. In the new room, go left for a Genma Record (Chikko) collectible. Head back and continue — the next hurdle collapses into a trap, dropping you into a monster pit. Clean out the horde, loot the area, then pull the joystick to open the door and climb the stairs inside.
The Fan Trap and the Great Hammer
Up top, cut the red cord on the left, clear the mobs, and push on. Back at the gear door another ambush waits — win it, cut the red thread, and follow the path to a save mirror that opens a shortcut.
Enter the mask door for a black-soul cutscene: Hina's mind is breaking under the torture — if she's even still alive.
Past the cutscene, descend from the cells into a circular room and pick up the lone glowing item: the Bloodstained Key.
The moment you take it, the ceiling fan starts descending. Shoot the four red-corded rollers around the walls with the bow before it crushes you. With the fan down, climb its blades to the room above — the chest there holds the Oni Armament: Earth-Shakers, the paired great hammers.
Boss: Nue Beasts, Times Two
Take the right elevator back to the research floor and open the main door: the boss music kicks in against two Nue Beasts at once. Breathe easy — their movesets are identical to the fight at Nijo Castle, just doubled. Space them out, keep your dodge-Issen rhythm, and dismantle them one at a time.
Ride the elevator up afterward to arrive at the Kyoto Imperial Palace.