Return to Rakuto Walkthrough — Benkei, Rairei and Sasaki Ganryu Rematch
Published 2026-09-10Updated 2026-09-1812 min read
The longest chapter: Corpse-Stench byway Prison Windows, the Gojo Bridge duel with Benkei, Kennin-ji's Rairei boss, the brutal Sasaki rematch, and Okuni's sandbar quest.
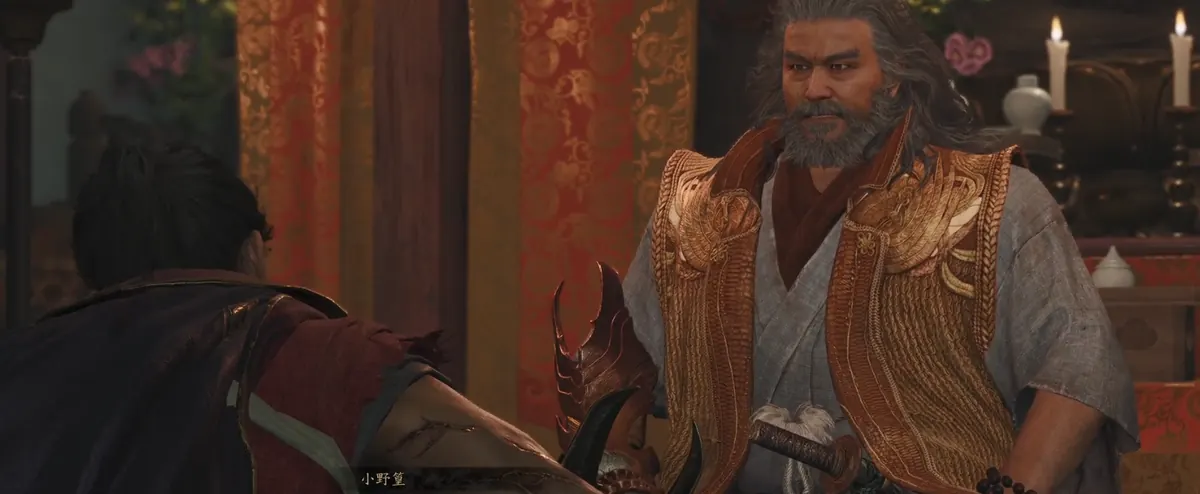
The second Rakuto visit is the game's longest chapter, packing five quest arcs into one map: a miasma clean-up, two boss rematches, the tower duel, and a dancer's promise.
Corpse-Stench Byway
Takamura sends you after Benkei, Yoshitsune's fiercely loyal retainer in life, now terrorizing Gojo Bridge. The bridge itself is sealed under miasma, so first: cleanse the Toribenawa erosion.
Warp to Gojo East and climb the stairs. At the broken bridge, use Hina's parting gift — the Arm-leg Awakening Wall Ride — to cross. What follows is a long stretch of mob clearing and miasma-flower destruction:
- Absorb Prison Window 1 at the road's end after two waves of enemies.
- Loot generously along the way — you'll want the upgrade materials.
- You can block-counter even while wall-running, so stay aggressive on the walls.
- At Window 2, climb the roof and destroy the miasma flower first, then fight undistrurbed.
- The open area at Window 3 introduces a new elite, Dofuten — tougher than Hyakue, with real aggression. Learn his rhythm well; he becomes a recurring sparring partner.
After the third window, wipe the flowers and the bridge miasma clears. Sweep Detection in Dofuten's arena for a hidden chest holding the Genma Record: Dofuten.
Blood on Gojo Bridge
Head for the bridge, collecting chests and unlocking the Gojo West save mirror en route. An NPC at the bridgehead briefs you on the battle — then the cutscene, and the Benkei boss fight.
Benkei looks terrifying and plays fair: most attacks give you generous reaction time, and his Issen windows are among the easiest in the game. Treat this as your Issen calibration fight. The wrinkle is his armor — layered plates you must smash via executions or Issens before his actual health is reachable. Strip the plates, then finish him.
The aftermath recontextualizes everything: Shizuka Gozen was once Yoshitsune's wife — until Yoshitsune cut her to pieces.
Crossing Blades
Back at the temple, another (frankly filler) mission: absorb two more Prison Windows. The route: warp to Kamo River East, tear open the miasma wall on the map's left, and fight.
Here the game introduces the window charge bar: while a Prison Window spawns enemies, a bar fills over time — when full, every spawned monster heals and gains the buffed Flame state. Shoot the window with your bow to interrupt the channel. This mechanic matters for the rest of the game.
Two more pickups: an Oni Hidden Door near Window 1 triggers another memory of the mysterious Oni woman, and a chest near Window 2 holds the Oni Armament: Firebird Flute.
Thunder Over Kennin-ji
The monk who fled Kennin-ji is back for a rematch. Walking to the building at Kennin-ji's far end forces a Prison Window encounter — beat it and restore yourself before entering the temple, because the next fight starts immediately.
Rairei, the elder thunder brother, hits harder than his sibling Oikaze. Big, telegraphed swings as before, but two moves deserve respect:
- Phase-two thunder slam. A deflect triggers a stagger here, but the timing is tight. Your best cue: deflect when his body is fully wrapped in purple light.
- The counter stance. When Rairei takes that planted pose, attacking means eating a guaranteed read-through counter. Don't get greedy.
The Broken Blade of Yasaka Tower
After the fight, word spreads of a madman cutting down everyone at Yasaka Tower — no prizes for guessing who. Warp over, unlock the Yasaka Tower save mirror, and enter.
Sasaki Ganryu has fully succumbed: the creature in his gauntlet has parasitized him outright. This is the game's first wall of a boss — one phase, but complex, fast, and full of counter-intuitive moves.
The new mechanic defines the fight: when Sasaki plants his counter stance, his weapon glows and he locks in place. Attack him directly and you're force-countered. The answer is the Arm Awakening — Crush breaks the stance outright. Build the whole fight around cracking that stance, then punishing.
And then the twist: you lose. Ganryu spares Musashi, who — shaken by failure — actually considers devouring human souls. Okuni arrives just in time to stop him. Back at Rokudochinno-ji, Takamura's counsel finally lands: Musashi walks the way of the sword as himself.
Okuni's Kabuki Dance
Talk to Okuni inside the temple — she wants company at the Kamo sandbar, where Genma have seized her dance troupe's old stage.
Warp to Kamo River East, find her by the small boat, and accept. Cross to the sandbar, unlock the Sandbar Entrance save mirror, and run the familiar loop — miasma flowers, mobs, two Prison Windows — with a new enemy type mixed in. Expect the Hyakue elite at Window 1; after clearing it, wall-run along the cliff to the next zone and the Sandbar Stage save mirror. Dofuten guards the final window, and one last miasma flower falls to end the occupation.
Okuni takes the stage and performs the kabuki dance she promised Hina. When the curtain falls and you head back to the bridge, a fresh crisis erupts — demons attacking a village, and the trail leads to the mountains: Mount Oe.