Best Lantern Pouch Picks for Every Playstyle
Published 2026-09-12Updated 2026-09-184 min read
All four lantern pouch types compared — Regeneration for beginners, Awakening for Issen builds, Assault for speedkills, Resistance for Oni-Slaying difficulty.
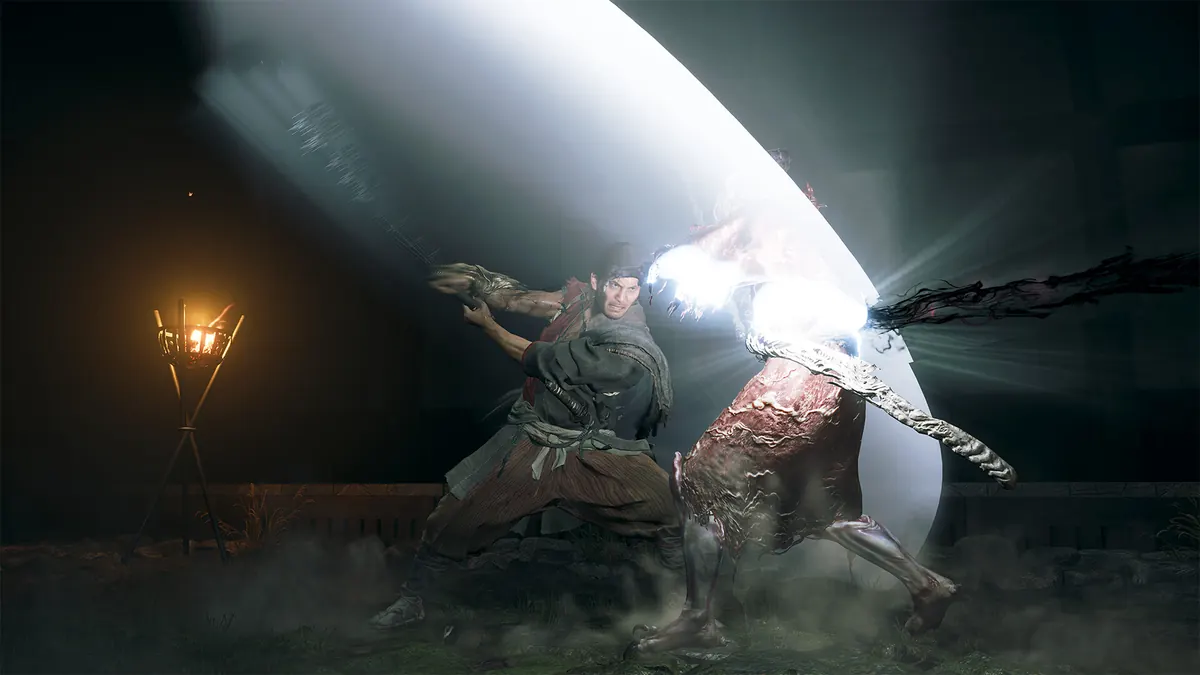
The lantern pouch is your consumable slot — and the game offers four distinct variants, unlocked as you progress through the side-quest line. Picking the right one for your build matters more than any single upgrade.
Regeneration — the Beginner's Pick
Effect: restores health and posture steadily over time. High total healing, but it trickles rather than instant-refills.
Take it if: you're in your first playthrough, fighting bosses with thin margins for error, or you simply get hit a lot. Steady, forgiving sustain — the default answer until you know better.
Awakening — the Issen Burst Pick
Effect: no healing at all. Instead it grants a large chunk of Awakening gauge and Oni skill gauge, catapulting you into the Awakened state where Issen executions come far easier.
Take it if: you've got your parries and perfect dodges down, you build around Issen damage, and you want boss fights to end in bursts rather than attrition. The glass-cannon favorite.
Assault — the Speedkill Pick
Effect: temporarily raises attack damage. Nothing else.
Take it if: your gear is maxed and you're hunting fast boss kills. The catch is obvious — zero sustain, so every mistake costs real health.
Resistance — the Survival Pick
Effect: temporarily reduces damage taken and raises resistance to status effects.
Take it if: you're running Oni-Slaying difficulty or wading into multi-Genma ambushes. It's the defensive specialist — no output boost whatsoever.
The Short Version
First playthrough: Regeneration, no contest. Confident on parries and chasing style points: Awakening. Farming or speedrunning: Assault. High-difficulty runs: Resistance. And since swapping is free, there's no shame in switching per boss — bottle choice is a loadout decision, not an identity.
Pair it with the right charm — see how to get the First Lantern Omamori and how omamori equipping works.