Shuten Doji Boss Guide — Wine, Fire and Your First Awakening
Published 2026-09-11Updated 2026-09-184 min read
Shuten Doji solved: punish the drinking animation, stock Evil-Warding Medicine for phase-two fire, manage the Awakening gauge, and answer the flying-head grab.
Shuten Doji looks like a demon king and fights like a tutorial. The battle introduces the Onimusha Awakening form, and its design leans teaching over testing: two phases, a narrow moveset, and huge swings borrowed straight from common mobs.
Before the Fight
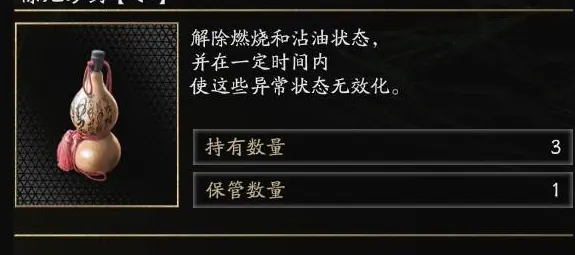
Stock Evil-Warding Medicine. Phase two is full of fire attacks that leave Musashi burning for chip damage — the medicine douses the burn instantly and turns the phase's worst feature into a non-issue.
The Core Trick: The Drinking
Shuten periodically stops to drink from his gourd — and while drinking he cannot move. Every drink is a full punish window: unload your biggest string to out-damage the health he's regaining. Racing his flask is the whole economy of the fight.
Phase One
His swings are big, winded-up and slow, with long recoveries on both ends. Watch for one nasty information-check: he sometimes lies down mid-sequence — standing back up deals damage around him, so never hug a fallen demon king.
Phase Two: The Awakening Form
After his first bar breaks, a cutscene grants Musashi the Onimusha Awakening form:
- The kanji gauge in the bottom-right corner is your Awakening meter. It drains constantly, and taking hits drains it faster.
- While Awakened, Issen timing windows widen dramatically — counters that were pixel-perfect become comfortable.
- Spending the meter fully enables a massive-damage burst attack before it empties.
New threats in this phase are minimal. The real ones:
- Fire everywhere. Multiple attacks leave burning patches and burn status; medicine or spacing handles both.
- The flying-head grab. His severed head launches across the arena with extreme range — it can cross most of the field, so never assume distance is safety. Keep moving or dodge late.
Run the loop — punish drinks, respect the fire, Awaken on the gauge — and the demon king drowns in his own cup. Story context lives in the Mount Oe walkthrough.