Dokiyo Boss Guide — Beat Every Mechanic, Phase by Phase
Published 2026-09-11Updated 2026-09-185 min read
A complete counter-sheet for the Dokiyo boss fight: missiles, spinning shells, clones, masks, bombers and the arena-wide sphere — plus every phase-two change.
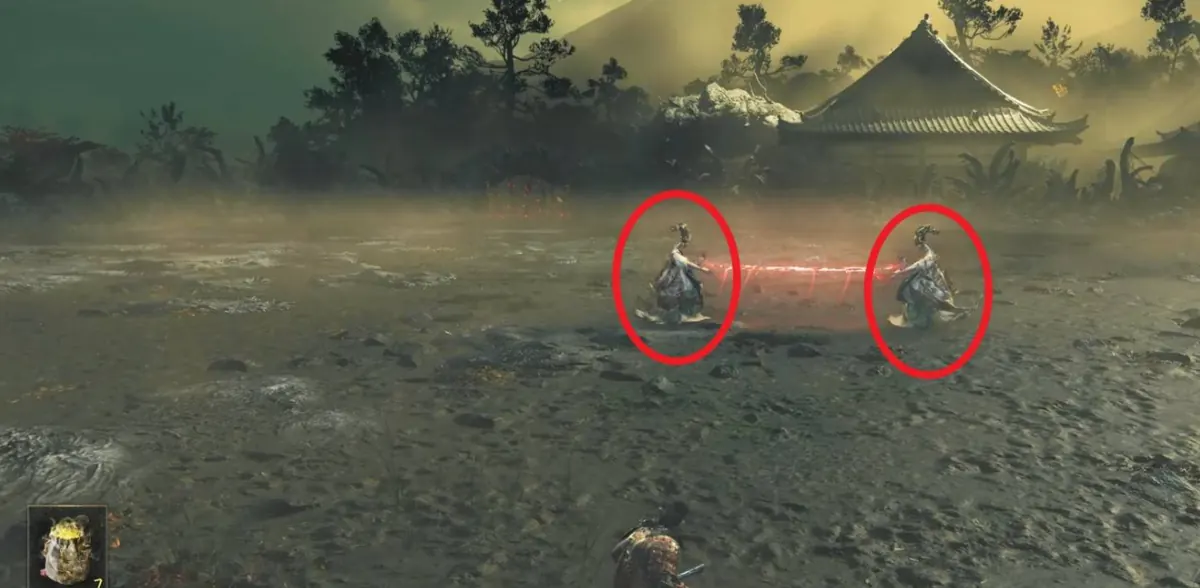
Dokiyo is the game's textbook mechanic boss: nothing can be brute-forced, but every single attack has a scripted answer. The core theme of the fight is making the boss destroy herself — missiles you chase, shells you deflect, clones you expose, masks you shoot, boulders you hide behind. Learn the sheet below and the fight becomes routine.
Phase One
Missile barrage. Keep chasing Dokiyo the entire time, dodging obstacles as they come. Pressure is the answer, not distance.
The red spinning shell. Her final throw each cycle is slow and perfect for a deflect — bat it back into her for heavy damage and a long stagger. Free damage window every cycle.
Twin clones weaving the net. Detection exposes the real one; a bow shot shatters the fake and staggers the body. Punish immediately.
Mask plus bombers. She becomes a mask and circles you, birthing a swarm of exploding minions. Sprint toward her position — every bomber chases her instead and detonates on her body.
Aerial masks. When she floats up and spins her masks, shoot the mask with the bow. The explosion drops her to the ground and sets her burning — a full damage window.
Phase Two Changes
- Shell return: the deflected spinning shell gets batted back at you once more — return it a second time for the damage to stick.
- Twin masks: the aerial mask doubles and speeds up, but remains trivially easy to shoot.
- Red bomber: one summoned bomber turns red; snipe it with the bow while it crosses her body.
- The arena-wide sphere: she charges a massive orb that nukes the entire field. Hide behind the largest boulder beside her before it detonates — then enjoy her extended recovery: it's the biggest damage window in the fight.
- Flamethrower row: she summons a line of flames across the arena. Simply block in place.
Bring her down and you'll walk away with the Utterly Deranged trophy. Need the fight in map context? It caps off the Arashiyama chapter.