Arashiyama Walkthrough — Cannon Sieges, Dokiyo Boss and the Kaguya Reveal
Published 2026-09-11Updated 2026-09-1811 min read
Full Arashiyama walkthrough: the Hell Path block puzzle, miasma fields, two cannon destruction set pieces, Sasaki's third duel, and every Dokiyo mechanic solved.
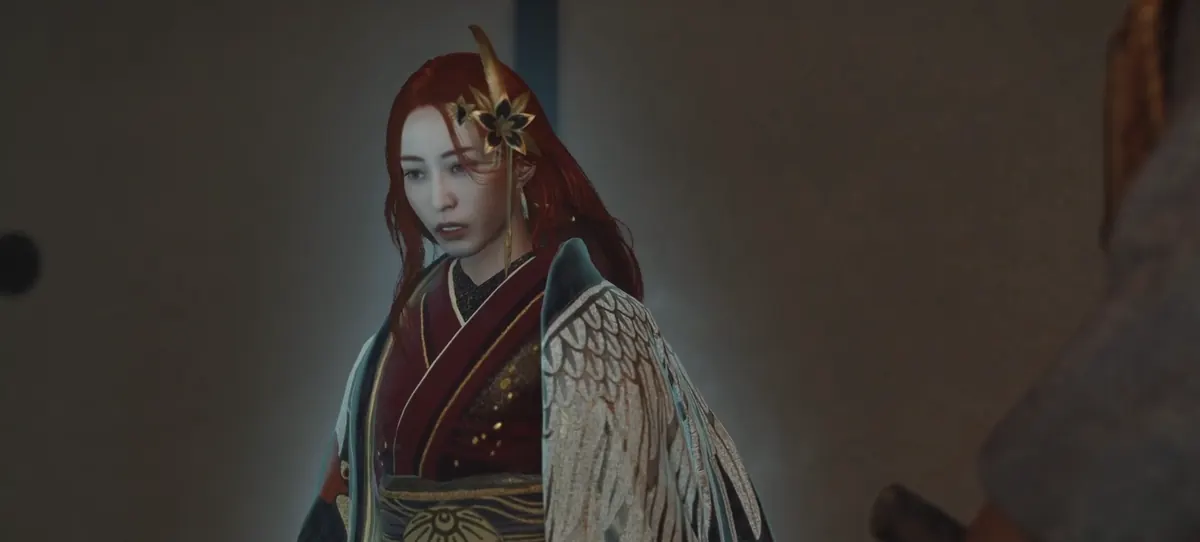
Arashiyama is the penultimate chapter: two cannon sieges, one block puzzle, a wounded samurai to protect, Sasaki for a third round, and the game's most mechanic-driven duel against Dokiyo.
Tears Over Arashiyama
Warp to Adashino Nenbutsu-ji, open the gate, and follow the road — grab the pickup on the right. Ahead, a cutscene introduces a new acid-spitting Genma, followed by a Prison Window guarded by — say it with me — Dofuten.
Seal the window and the road ahead is blocked by a puzzle.
The Hell Path Puzzle
Interact with the glowing stone tablet for the riddle: "The Hell Path's four eyes point the way — do not stop walking." Find the Hell Path pillar in the area's center, then walk in the direction its gaze points; slip through the wall and touch the light to enter the Oni Hidden Passage.
The push-block sequence:
- Shoot the right red orb of the block opposite the entrance and cross.
- When it passes, hug the right wall through the junction to a circular room. Note the second mechanism block on the left — leave it for now.
- At the passage's end, shoot the right orb of the first block again.
- Return to the noted block and shoot its left orb — the path ahead opens, and a chest with an Oni Stone becomes reachable.
Exit the passage and unlock the Bamboo Path save mirror.
The Miasma Fields and the First Cannon
The road ahead crosses a huge miasma field. Follow the main guidance and kill miasma flowers first, loot second. A patrolling Hyakue roams the center — you can fight it in the gas or clear the flowers and starve it of cover first. Prison Windows spawn while you clean up.
With the field clear, unlock the Onuma 1 mirror; the chest at its top-right holds the Oni Armament: Still Water, the battle tachi.
The open area ahead triggers the cannon set piece: destroy the artillery. Push forward through the mobs under fire, use explosives to break the gate, and at the end climb the high platform — a single arrow into the explosive pile takes the cannon out.
Break the miasma wall, absorb the black soul at the end, and watch the cutscene: Dokiyo is carrying Yoshitsune on his back, and he's struck some kind of pact with Sasaki.
The Village and the Wounded Samurai
Fight through to the Temple mirror. The right path is sealed; go left into the village and hunt three oni-eater bugs — the red ropes make them easy to trace. Expect miasma flowers and ambushes en route.
Back at the mirror, enter the sealed door for a cutscene: a lone samurai fighting a horde, taking wounds. Defend him through several waves — then talk to him for the Back Gate Key. Open the rear door and unlock the Mountain Path mirror.
Absorb the next black soul: Sasaki, it turns out, wants Yoshitsune dead too.
The Second Cannon and the Ascent
Another cannon, same solution — blow the gate with explosives, then use Detection to spot a chest on a platform holding the Genma Record: Bokusen. Climb high and arrow the explosive pile to topple the gun tower, then pass the main gate and unlock the Kametopped Tower mirror.
Two Prison Windows spawn on the climb. At the top, a cutscene unspools Dokiyo and Yoshitsune's shared past: the world-destruction plan was laid long ago.
Unlock the Hozu River mirror and walk the river road to Togetsu Bridge.
Boss: Sasaki Ganryu, Round Three
Into the left area, and the third duel begins. The moveset matches the Yasaka Tower fight, but he's gained one more health bar and several new phase-two attacks. If you broke him at the tower, you'll break him here — same stance-crushing discipline, a little more patience.
Afterward, Musashi severs Ganryu's gauntlet — and frees Giou with it. Two chests and the Horo-in mirror later, the open area delivers the chapter's gut-punch: Dokiyo has thrown Shizuka Gozen's body to the demons as food. Musashi swears vengeance.
Boss: Dokiyo — the Mechanic Fight
Dokiyo is a pure puzzle boss: every attack has a scripted answer, and once you know them the fight collapses.
- Missiles: dodge everything; an Issen works but the timing is cruel.
- Summoned bombers: the instant the summon ends, sprint behind Dokiyo — his own minions explode on him.
- Clones: sweep Detection to expose the fake, then shoot it with the bow for a free stagger window. Phase two adds a grab-throw minion — catch it and throw it back.
- Masks: when Dokiyo takes to the air spinning masks, shoot the mask with the bow. Phase two spawns a second one.
- Zodiac Fall (phase two): she charges a huge sphere that nukes the whole arena. Before it detonates, hide under the largest rock beside her. After the blast, push the rock onto her with Crush for a long punish window.
The Kaguya Reveal
Beat her and the credits-scene twist lands: Dokiyo didn't rise — she fell. Banished from Heaven, she is Kaguya-hime. And in the chaos, she escapes.
Musashi returns to Rokudochinno-ji to regroup for the endgame — the gates of the Oni Castle await.